Author: Site Editor Publish Time: 2024-07-18 Origin: Site


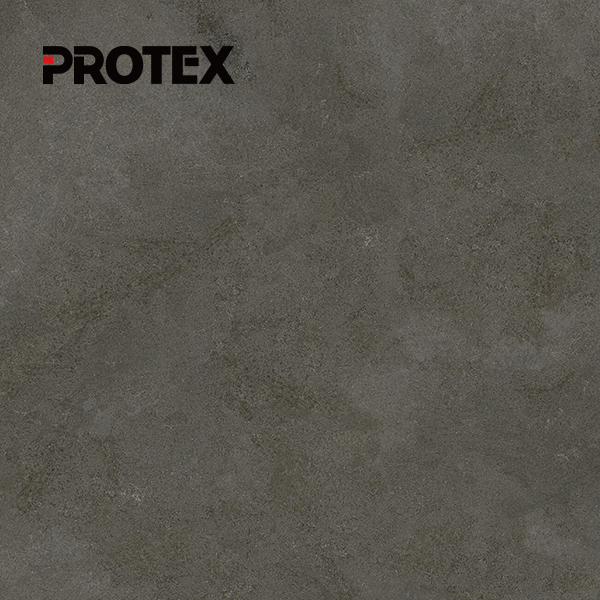
Nowadays SPC flooring has become a better choice for residential and commercial decoration. More and more people start to choose SPC flooring instead of traditional solid wood flooring and engineered flooring due to its outstanding waterproof performance and stability.
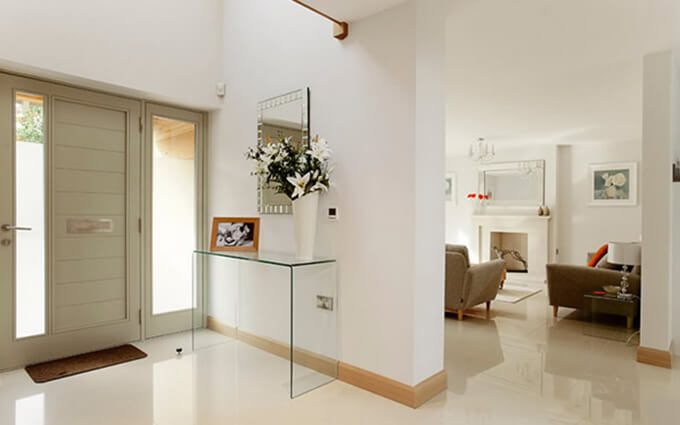
Then many manufacturers, wholesalers and retailers appeared. People will buy flooring from local decoration materials markets or online/offline shops, and most of their main purpose is to decorate residential areas. However, how to install them in different areas at home become a distressing problem for many people. Today i will give you a comprehensive introduction to SPC flooring installation for residential areas.
SPC flooring is famous with its excellent waterproof characteristic, which can also be an alternative choice for bathroom installation or renovation. First of all, we should prepare some necessary tools and accessories.
Tools
①Tape measure
②Tiles cutter
③Pull bar
④Rubber hammer
⑤Shovel
⑥Vacuum cleaner
⑦Knee pads
⑧Flooring installing kit
⑨Spacer
Materials
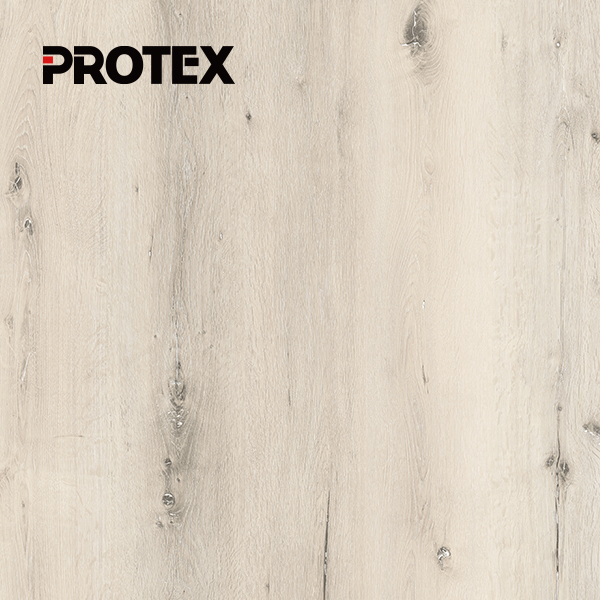
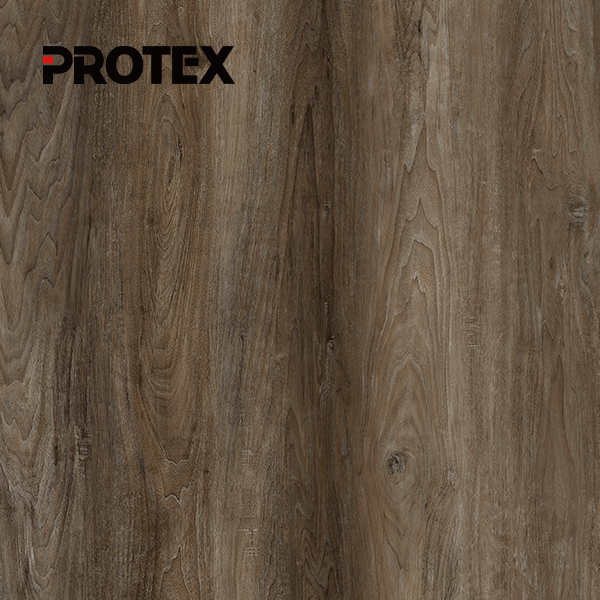
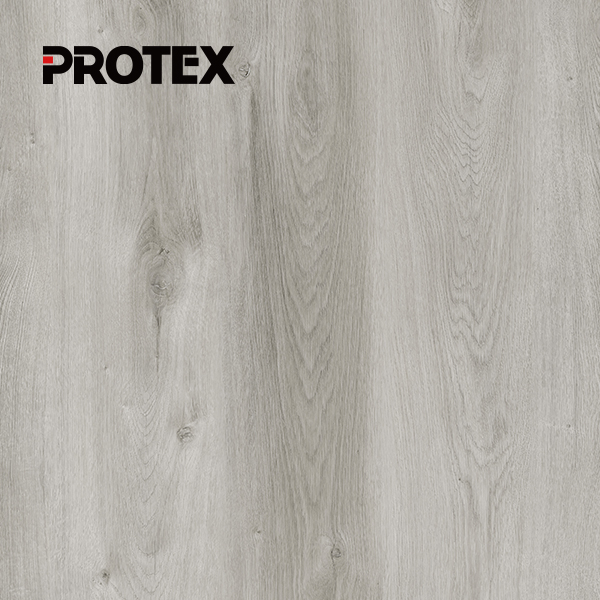
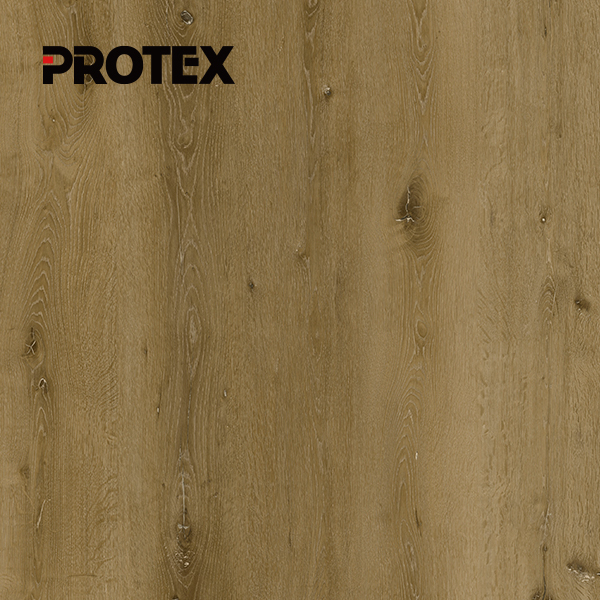
①SPC tiles
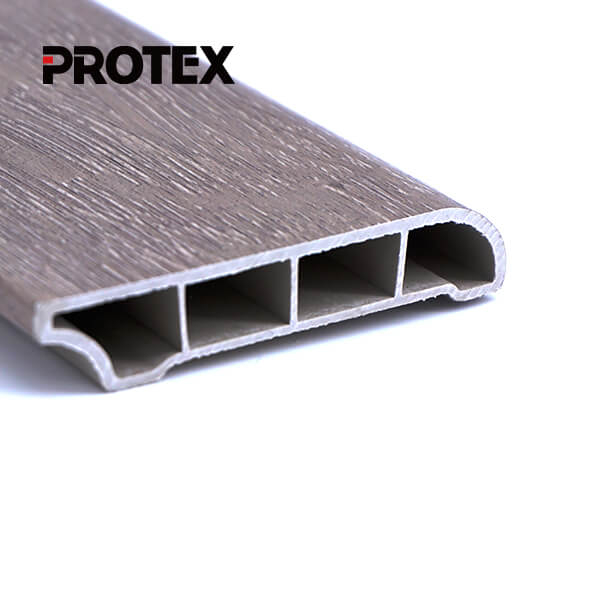
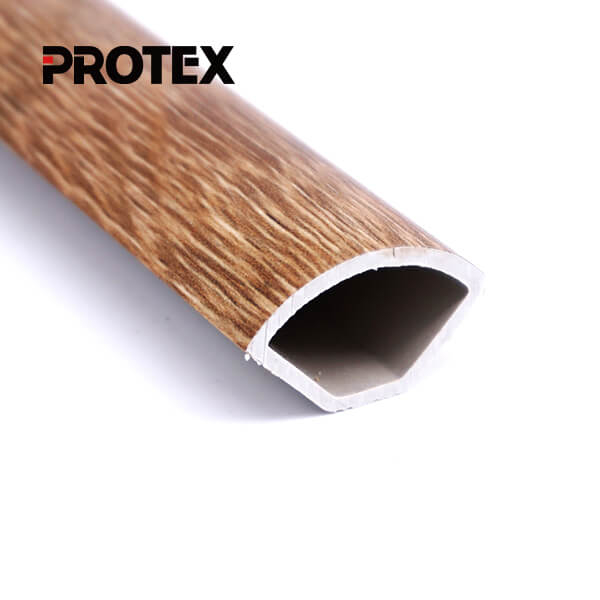
②Wall moulding
③Threshold moulding
Step_1:
Commonly ceramic tiles are used to decorate the bathroom. Thus if you want to renovate it with SPC flooring, you should remove it by shovel firstly.

Step_2:
Clean the ground by using vacuum cleaner and other cleaning tools.

Step_3:
Check the ground for level. If there is some bump areas, you can remove it by nails and hammer.

Step_4:
If you find that the ground is lower, you can install plywood on the ground as its substrate. From this step, please remember to wear knee pads in order to protect your knees from hurting.

Step_5:
Use computer to create a simulated graph to try and find a better installation solution.

Step_6:
Based on above simulated graph, use tape measure to measure the actual size in bathroom. After recording and marking, use tiles cutter to adjust edge pieces.

Step_7:
Add spacer to the wall before install the first row to spare an expansion seam. This step is necessary because when SPC flooring size become to deform, this seam can help avoid bump and crack.

Step_8:
Install and fix the tiles by pull bar and hammer, which can make pieces integrate with each other more closely.

Step_9:
Measure left space after installing other areas by tape measure. Then cut the suitable tiles to fit this area.

Step_10:
Finally, assemble the threshold moldings and wall moldings after installing all SPC flooring.

Actually it is very similar to that methods when installing SPC flooring in bathroom. For bathroom, there are many other obstacles in the bathroom that can affect the installation of the SPC flooring such as underground drainage pipe. For bedroom commonly there will not too much obstacles.
One special situation is that sometimes people will choose different installing ways such as herringbone flooring to lay in the bedroom, which is different from traditional stretcher laying methods. Here i will show you the images of various kinds of laying methods.


Regardless of which type of installing methods you choose, drafting the simulated graph in advance is important, which can help you avoid many troubles. Here herringbone and chevron are the most popular among many customers due to its unique aesthetic and geometric feeling. Especially for residential areas, when your guests or visitors come to visit your home, this will make them feel its elegant and refined mood.
Here I will use herringbone as an example to introduce its entire installing methods.
Tools
①Tape measure
②Framing square
③Jig saw
④Flooring cutter
⑤Drill
⑥Compass
⑦Knee pads
⑧Straight edge
⑨Rubber hammer
Materials
①SPC herringbone flooring
②Wall moulding
③Threshold moulding
Step_1:
Draft the entire installing layout firstly. It is very important before all steps starting.

Step_2:
Find and mark the middle point and middle line by using drafted graph and compass.

Step_3:
Make a test panel before layout. Please remember that one piece herringbone flooring’s length is an exact multiple of its width.

Step_4:
Use framing square to mark the lines on the straight edge. Then mark reference lines on the subfloor.

Step_5:
Create a initial referred triangle reference to prepare for next installing. Then install herringbone flooring one by one by using rubber hammer. This step is the most important, which will determine all next installing successful or not. Do not forget to spare the distance from the first row flooring to the wall when installing referred triangle shape.

Step_6:
Keep installing one side herringbone flooring according to the triangle reference. Then reverse the triangle reference to another side and keep the same installing steps. Repeat this step for next all columns.

Step_7:
Use straight edge to mark the splitting lines. Then remove the extra corners by using jig saw. Finally, take the same steps as bathroom installation to install threshold molding and wall molding after installing all herringbone flooring in bedroom.

Above all, here i introduce the detailed installing methods for bathroom tiles and bedroom herringbone flooring. If you want to install by yourself, read a guide is necessary. Before installing, drafted graph is important as well, which can help you avoid many mistakes during installation. Protex flooring not only provides flooring products but also provides various kinds of flooring installation in different areas. If you have any question about installation, do not hesitate to contact us, because Protex flooring is always your reliable one-stop supplier.